Droplet Contact Analysis Viewer Panel
Plot the results of a Droplet Contact Analysis calculation.
To open this panel, click the Tasks button and browse to Materials → Classical Mechanics → Droplet Contact Analysis → Droplet Contact Analysis Results.
To open this panel from the entry group for the results of a droplet contact analysis job, use the Workflow Action Menu  .
.
The following licenses are required to use this panel: MS Maestro
- Features
- Additional Resources
Droplet Contact Analysis Viewer Panel Features
- Load from Workspace button
-
Load the analysis data associated with the structure in the Workspace, which must be the output structure from a job run from the Droplet Contact Analysis Panel.
- Plot toolbar
-
The toolbar has tools for manipulating the plot and for saving images. The buttons that are common to all plot toolbars are described in the Plot Toolbar topic.
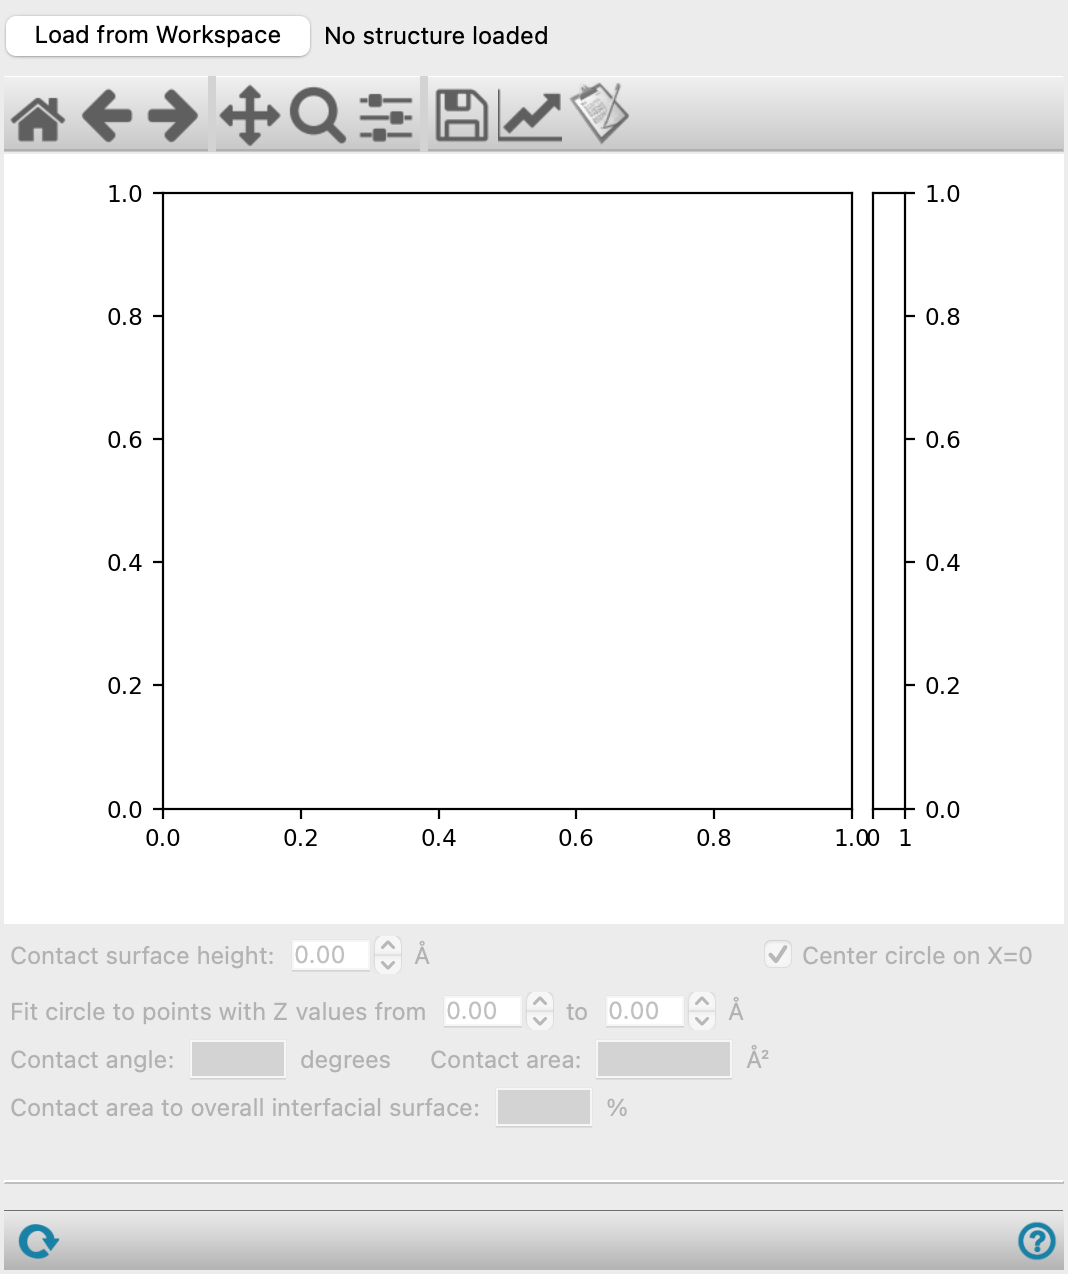
- Plot area
-
Plots the Z-coordinate against the radial distance in angstroms. The density of the droplet is shown as a heat map, and a color legend is show on the right. The blue dots represent the fitting points to fit the droplet to the green circular line. The blue line represents the tangent to the fitted circle. The black dashed line sets the surface plane. The angle formed between the black dashed line and the blue line is the contact angle. See the Using section of the Droplet Contact Analysis Panel for more information.
- Contact surface height text box
-
This is the height that will be considered the surface plane, represented as a black dashed line in the plot. By default, the molecule in the droplet with the lowest Z-coordinate defines Z=0. The surface may have some degree of roughness, or some molecules may modestly intercalate into the surface. Therefore, it is important to set this height carefully. You can use the density, as represented by the heat map, to guide where this line should be set. For example, for a water droplet, the region where water density is ~0.5 g/cm3, the orange-red color, is a reasonable target for the surface plane.
- Center circle on X=0 option
-
Select this option to set the center of the fitted circle at X=0. This ensures that the highest Z value of the green curve occurs when the radial distance is at 0 angstroms. A symmetric droplet is assumed.
- Fit circle to points with Z values from text boxes
-
Set the range of Z values to use to fit the circle and capture the curvature of the droplet. In some cases, individual points may not be representative of the overall droplet. Typically, these are at the top or bottom of the droplet. By default, the bottom 20% and top 10% of the Z values are excluded. Changing these values to adjust the blue fitting points and the green curve in the plot.
- Contact angle text box
-
The blue line in the plot is tangent to the green curve at the point where the dashed line (based on the Contact surface height) intersects the green curve. The angle that the blue line makes with the black dashed line is the contact angle. See the Droplet Contact Analysis Panel. Noneditable.
- Contact area text box
-
The area, in Å2, where the droplet is in contact with the substrate surface. Noneditable.
- Contact area to overall interfacial surface text box
-
The ratio of the contact area to the overall substrate surface, as a percentage. Noneditable.
- Status bar
-
 to reset the panel to its default settings and clear any data from the panel.
If you can submit a job from the panel, the status bar displays information about the current job settings and status for the panel. The settings include the job name, task name and task settings (if any), number of subjobs (if any) and the host name and job incorporation setting. The job status can include messages about job start, job completion and incorporation.
The status bar also contains the Help button
 , which opens an option menu with choices to open the help topic for the panel (Documentation), launch Maestro Assistant, or if available, choose from an option menu of Tutorials. If the panel is used by one or more tutorials, hover over the Tutorials option to display a list of tutorials. Choosing a tutorial opens the tutorial topic.