Equation of State Viewer Panel
Display results of equation-of-state calculations from Quantum ESPRESSO. Results can be fitted to a selected function and plotted for multiple structures.
To open this panel: click the Tasks button and browse to Materials → Quantum Mechanics → Quantum ESPRESSO → Equation of State Viewer.
To open this panel from the entry group for the results of a Quantum ESPRESSO job .
.
The following licenses are required to use this panel: MS Maestro, Quantum Espresso Interface
- Features
- Additional Resources
Equation of State Viewer Panel Features
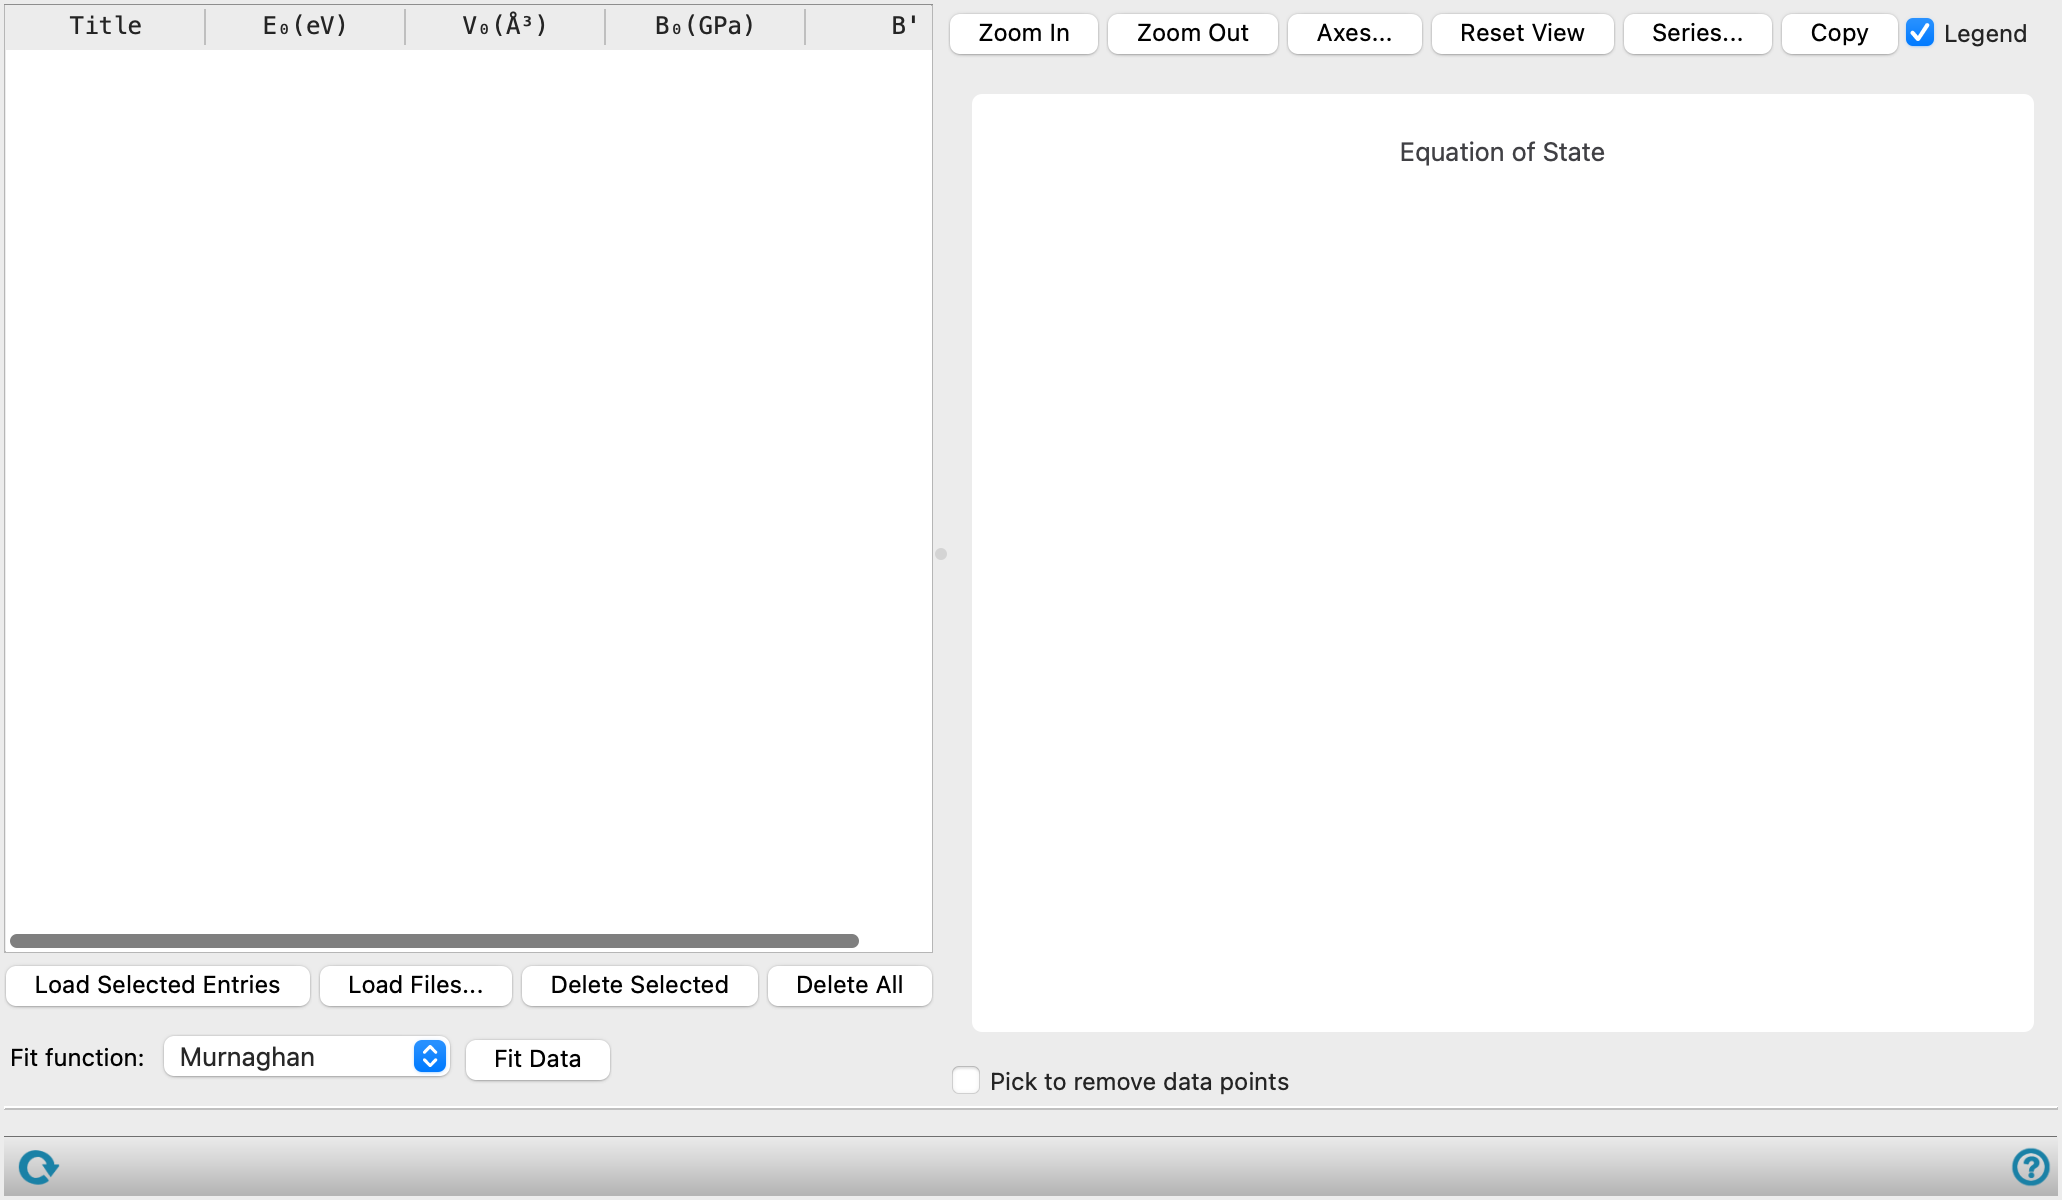
- Entry table
-
Lists the loaded project entries that contain the results of the equation-of-state calculations. The columns are described below. The values of B0 and B' are derived from a fit to the equation-of-state data in the entry.
Title Entry title for the entry E0 Energy at zero pressure in eV/atom V0 Volume at zero pressure in Å3/atom B0 Bulk modulus in GPa B' Pressure derivative of bulk modulus - Load Selected Entries button
-
Load the entries that are selected in the Project Table into the viewer. Each entry must contain equation-of-state results. The results for all the entries in the table are fitted and plotted, which allows you to compare results for different systems.
- Load Files button
-
Load a CSV file containing structure properties of an entry into the viewer. Multiple files can be loaded at once. The CSV file should have two columns separated by a comma. The first column is the volume at zero pressure (V0) in Å3/atom. The second column is the energy at zero pressure (E0) in eV/atom. The first row is a header row and is ignored. For example:
V_0 (A^3/atom),E_0 (eV/atom)
1.698151289099075001e+01,-1.303336525582237471e+02
1.808866646726858818e+01,-1.304649233229478966e+02
1.924292605975705328e+01,-1.305365732934979235e+02
2.044526117497558104e+01,-1.305585218676847319e+02
...-
The CSV file can be generated from an equation of state computation with Quantum ESPRESSO or manually created. After a CSV file is loaded, the name of the CSV file is displayed in the Title column of the Entry table. The other columns of the Entry table are automatically populated once a fit function is selected and the data is fitted. The data from the CSV file is fitted and plotted in the same way as an entry loaded from the Project Table.
- Delete Selected button
-
Remove the entries that are selected in the table.
- Delete All button
-
Remove all entries from the table.
- Fit function option menu
-
Select the function used to fit the data. References are given to the source of the function.
- Fit Data button
-
Fit the data for each entry with the selected function and plot it in the plot area. The values of B0 and B' are updated for all entries in the table.
- Plot buttons
-
Use these buttons to configure the plot.
- Zoom In—Zoom in on the plot. Each click zooms in by a predefined factor, enlarging the view of the current center of the plot. You can also zoom in on a particular area by dragging out a rectangle.
- Zoom Out—Zoom out by a predefined factor. Each click zooms out by a predefined factor, to show more of the plot.
- Axes—Set the range and labeling options for the axes. Opens the Axes Parameters Dialog Box.
- Reset View—Reset the view of the plot to the original zoom and pan values.
- Copy—copy an image of the plot to the clipboard, for use in other applications.
- Legend option
-
Display a legend in the plot.
- Pick to remove data points option
-
Pick data points in the plot to remove them from the plot. You can then refit the data with the points removed to obtain new values of B0 and B'.
- Status bar
-
 to reset the panel to its default settings and clear any data from the panel.
If you can submit a job from the panel, the status bar displays information about the current job settings and status for the panel. The settings include the job name, task name and task settings (if any), number of subjobs (if any) and the host name and job incorporation setting. The job status can include messages about job start, job completion and incorporation.
The status bar also contains the Help button
 , which opens an option menu with choices to open the help topic for the panel (Documentation), launch Maestro Assistant, or if available, choose from an option menu of Tutorials. If the panel is used by one or more tutorials, hover over the Tutorials option to display a list of tutorials. Choosing a tutorial opens the tutorial topic.