Mixed Solvent MD Panel
Perform Mixed Solvent Molecular Dynamics (MxMD) simulations and view the results.
To display this panel- click the Tasks button and browse to Desmond → Mixed Solvent MD
- Using
- Features
- Additional Resources
Using the Mixed Solvent MD Panel
Mixed Solvent Molecular Dynamics (MxMD) can be used to identify and characterize active sites and interfaces along a solute’s surface. The solute can be a protein or DNA or RNA. MxMD performs molecular dynamics simulations in binary solvent mixtures, consisting of water and small organic probes — the cosolvents — that mimic binding counterparts to the solute.
Setup option
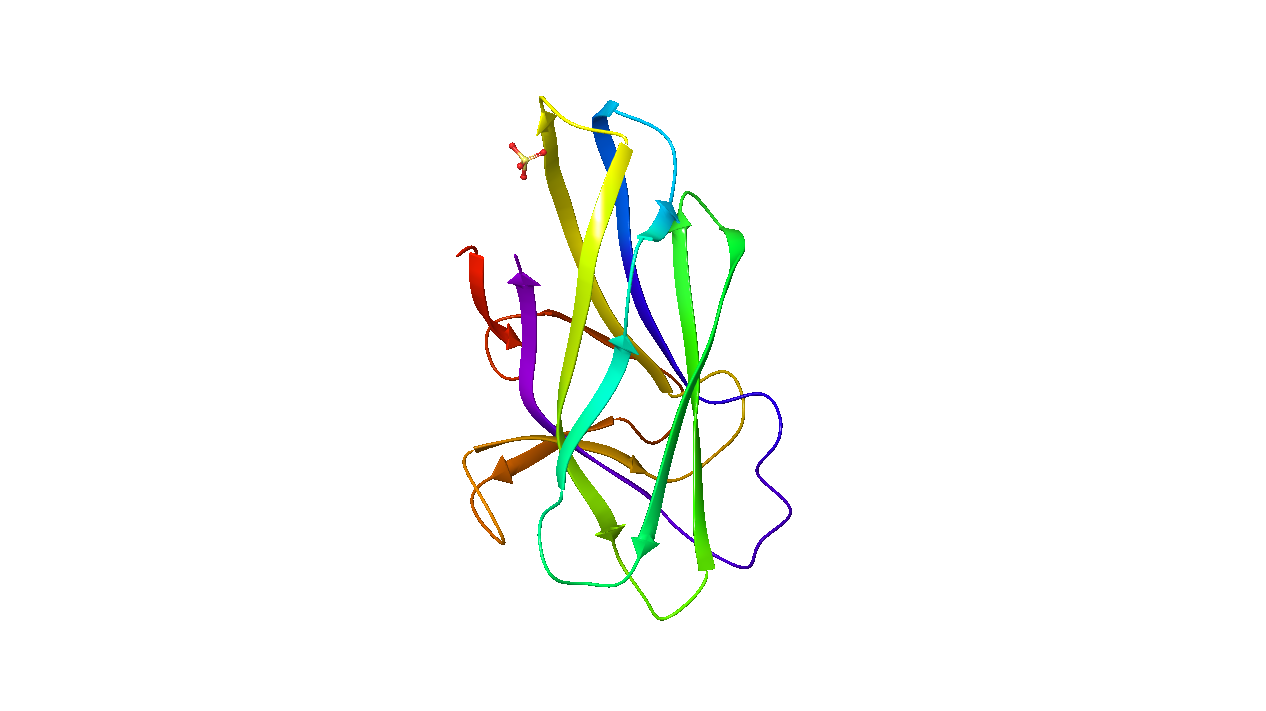
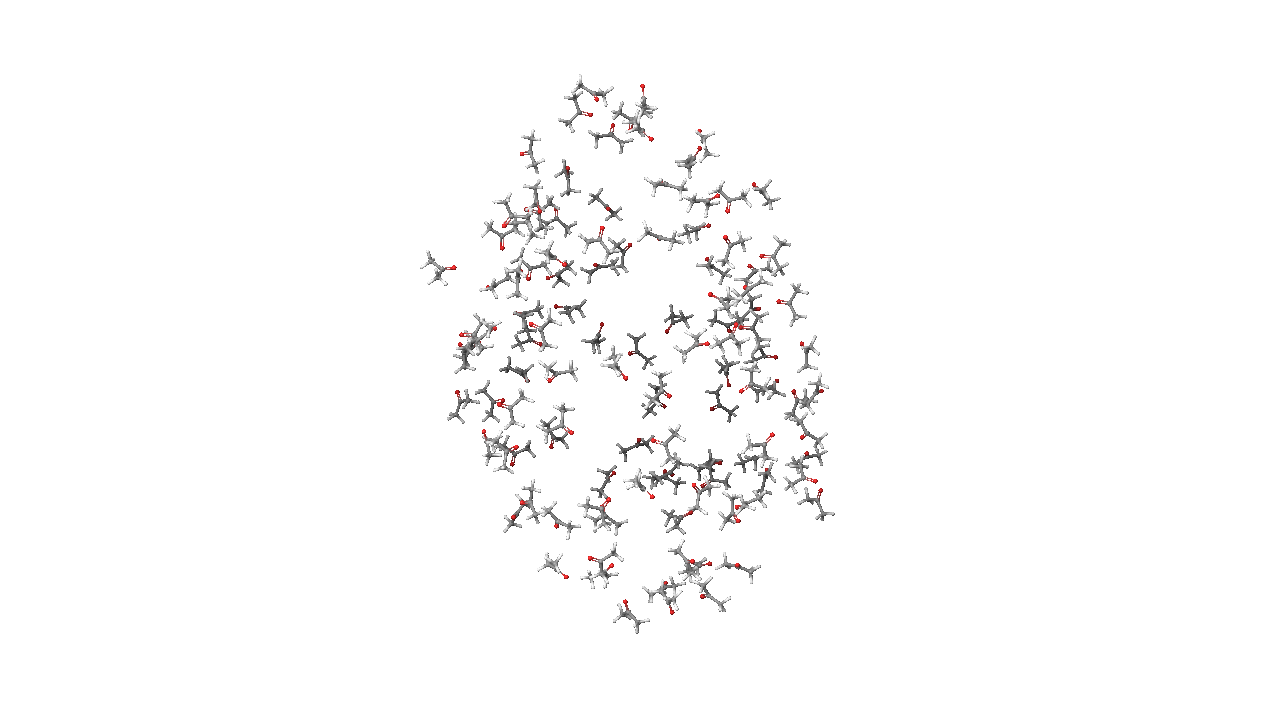
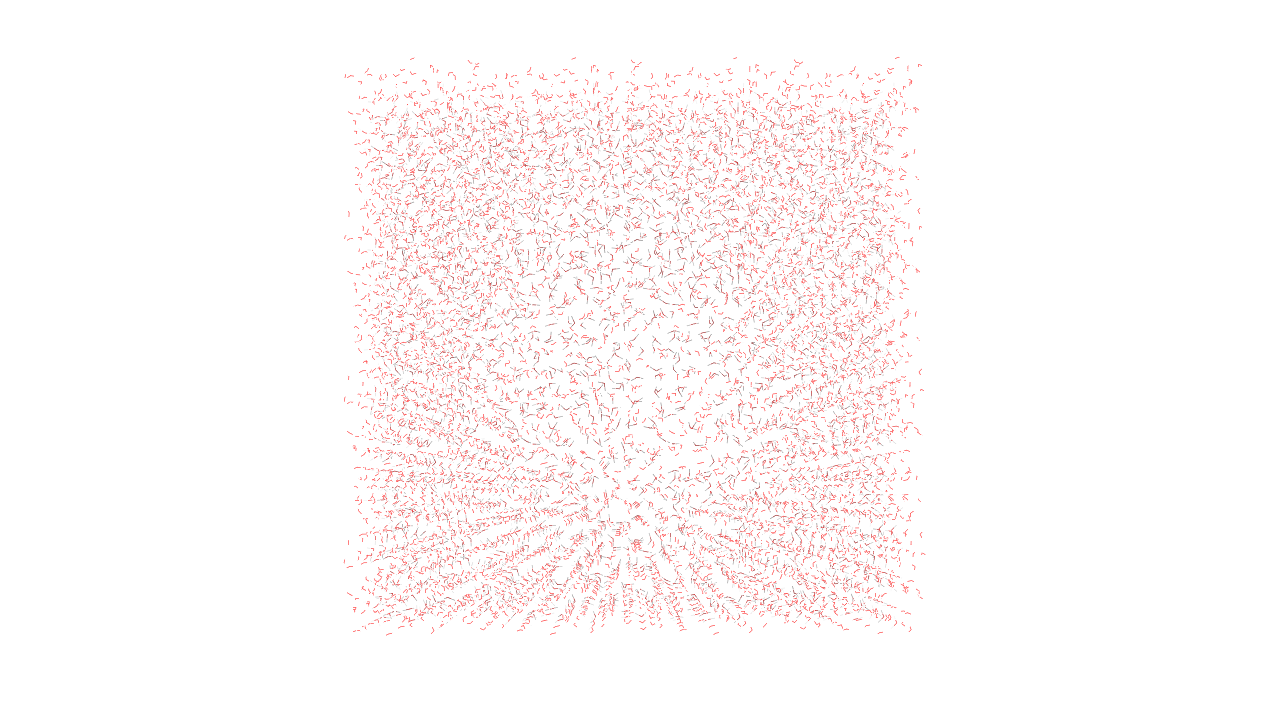
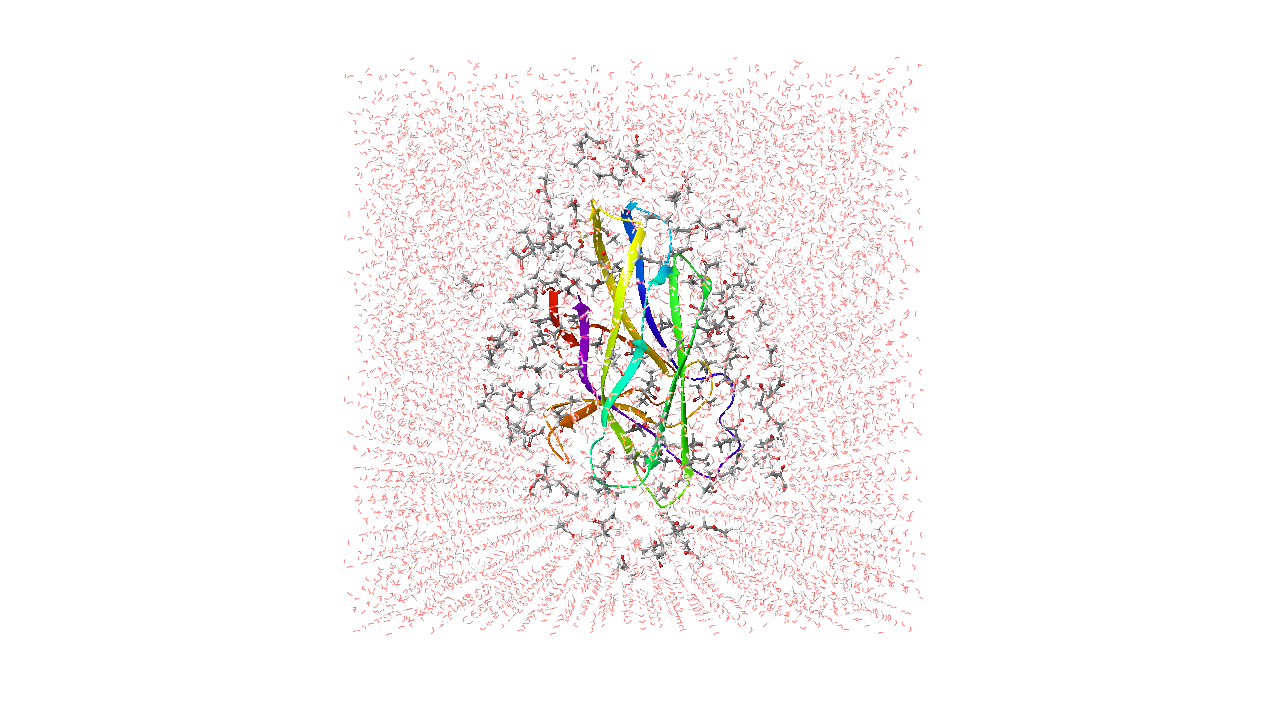
Use the Setup option to set up the MxMD system, which contains the input structure of the protein or DNA/RNA target (solute), a 7 Å layer of organic cosolvent and water molecules. The number of cosolvent molecules is tuned to be approximately 5% volume by volume.
The solute must be prepared properly before running an MxMD job (see Preparing solutes). Cosolvent/water systems are generated for each probe selected in the Cosolvent probes option menu. For each probe, a default of 10 simulations are performed with different starting conditions; this number can be changed in the Simulations per probe text box. See MxMD Simulation Details for more information on the set up procedure and simulation details.
| + |
| + |
| = |
|
(Protein, DNA, or RNA) | 7Å cosolvent layer | Water | Cosolvent systems |
MxMD takes full flexibility of the solute into account as well as competition of cosolvent probes with water, thus making it a powerful approach for hotspot mapping and assessing “druggability” of competitive and allosteric binding sites [4]. The predefined cosolvent probes are carefully selected to enable the identification and characterization of hydrogen-bonding sites, hydrophobic contacts, protein-protein interfaces, and aromatic pockets. MxMD can be further adapted to identify other functionally relevant sites by tailoring the cosolvent probe combination.
To write out the input file and a script for running the job from the command line, click the arrow next to the Settings button  and choose Write.
View Result option
The output of a MxMD simulation is a compressed Maestro project archive mxmd_job.prjzip. You can load the results of the simulation into the panel with the View result option. The solvent hotspots are listed in the table, and also displayed in the Workspace. See MxMD Analysis for more information.
Mixed Solvent MD Panel Features
- Stepup option
Use this section to set up and run a MxMD job. Be sure the input solute is prepared properly (see Preparing solutes).
- Solute from option menu
Choose the structure source for the solute of the MxMD simulation.
- Project Table (n selected entries)—Use the entries that are currently selected in the Project Table or Entry List. The number of entries selected is shown on the menu item.
- Workspace (included entry)—Use the entry that is currently included in the Workspace. Only one entry must be included in the Workspace.
- File—Use the specified file. When this option is selected, the File name text box and Browse button are displayed.
- Project Table (n selected entries)—Use the entries that are currently selected in the Project Table or Entry List. The number of entries selected is shown on the menu item.
- Browse button
Click Browse and navigate to the desired file
- Load button
Load the solute from the
- Cosolvent probes option menu
Select the cosolvent probes cosolvent/water systems are generated for each probe that is selected. By default, acetonitrile, isopropanol, and pyrimidine are selected. For a description of all available probes, see MxMD Cosolvent Probes.
- Simulations per probe text box
Specify how many cosolvent/water systems should be generated for each probe selected from the Cosolvent probes option menu.
- Equilibration time text box
Specify the time for the equilibration simulation stage, in ns. See MxMD Simulation Protocol for details.
- Simulation time text box
Specify the time for the production simulation stage, in ns. This stage takes place after the equilibration stage, and is used for data collection. See MxMD Simulation Protocol for details.
- Build membrane option and menu
Select this option to run MxMD on membrane proteins. Choose a lipid bilayer from the option menu, which is automatically placed around the protein. If this option is selected, the receptor orientation reference should be OPM-compatible. See System Setup for Membrane Proteins for details on how a system with membrane proteins is built.
- View result option
Use this section to view the results of a MxMD job. Load the output of a MxMD simulation, then view the probe hotspots by interacting with the Solvent hotspots table.
- Import results from option menu
Choose the structure source for viewing MxMD simulation results.
- File—Use the specified file. When this option is selected, the File name text box and Browse button are displayed.
- File—Use the specified file. When this option is selected, the File name text box and Browse button are displayed.
- Solvent hotspots table
You can click on a column header to sort the table by that column. The columns of the Solvent hotspots table are as follows:
Hotspot—The index of the hotspot.
# of probes—The number of probes at the hotspot. These are listed in the Probe Type column.
MxMD Score—A score for the hotspot used to identify and prioritize density regions of biological interest within the protein or DNA/RNA structures. For how this score is obtained, see Detecting and Scoring Hotspots.
Area (Å2)—The area of the hotspot.
Volume (Å3)—The volume of the hotspot.
Probe Type—The probes present at the hotspot.
Surface—Select the option in the header to view all surfaces in the Workspace, or select individual rows to display that hotspot surface in the Workspace. To see surfaces with a specific probe, use the Surface column after clicking on the Display Options link. The probe hotspots are displayed as surfaces with a cutoff of 20 σ.
Probes—Select the option in the header to view all probes as molecules in the Workspace, or select individual rows to display probes in that hotspot in the Workspace. To see only specific probes, use the Molecules column after clicking on the Display Options link.
- Display Options link
Click to change display settings for the hotspots in the Workspace. You can choose whether to show molecules and surfaces for each probe, as well as set the color. You can also choose how the probe surface should be rendered.
- MxMD Best Practices link
Click this link to open the MxMD Best Practices topic in your browser.
- Job toolbar
Manage job submission and settings. See Job Toolbar for a description of this toolbar.
The Job Settings button opens the Mixed Solvent MD - Job Settings Dialog Box, where you can make settings for running the job.
- Status bar
 to reset the panel to its default settings and clear any data from the panel.
If you can submit a job from the panel, the status bar displays information about the current job settings and status for the panel. The settings include the job name, task name and task settings (if any), number of subjobs (if any) and the host name and job incorporation setting. The job status can include messages about job start, job completion and incorporation.
The status bar also contains the Help button
 , which opens an option menu with choices to open the help topic for the panel (Documentation), launch Maestro Assistant, or if available, choose from an option menu of Tutorials. If the panel is used by one or more tutorials, hover over the Tutorials option to display a list of tutorials. Choosing a tutorial opens the tutorial topic.