Molecular Deposition Panel
Deposit molecules on a substrate in successive additions with MD equilibration to build up a layer on the substrate.
To open this panel: click the Tasks button and browse to Materials → Classical Mechanics → Molecular Deposition. You can also open this panel with the Workflow Action Menu  for a project entry that contains results of a Build Slabs and Interfaces job, as a possible next step.
The following licenses are required to use this panel: MS Maestro, OPLS (optional), Desmond, MS Force Field Applications (optional)
- Using
- Features
- Additional Resources
Using the Molecular Deposition Panel
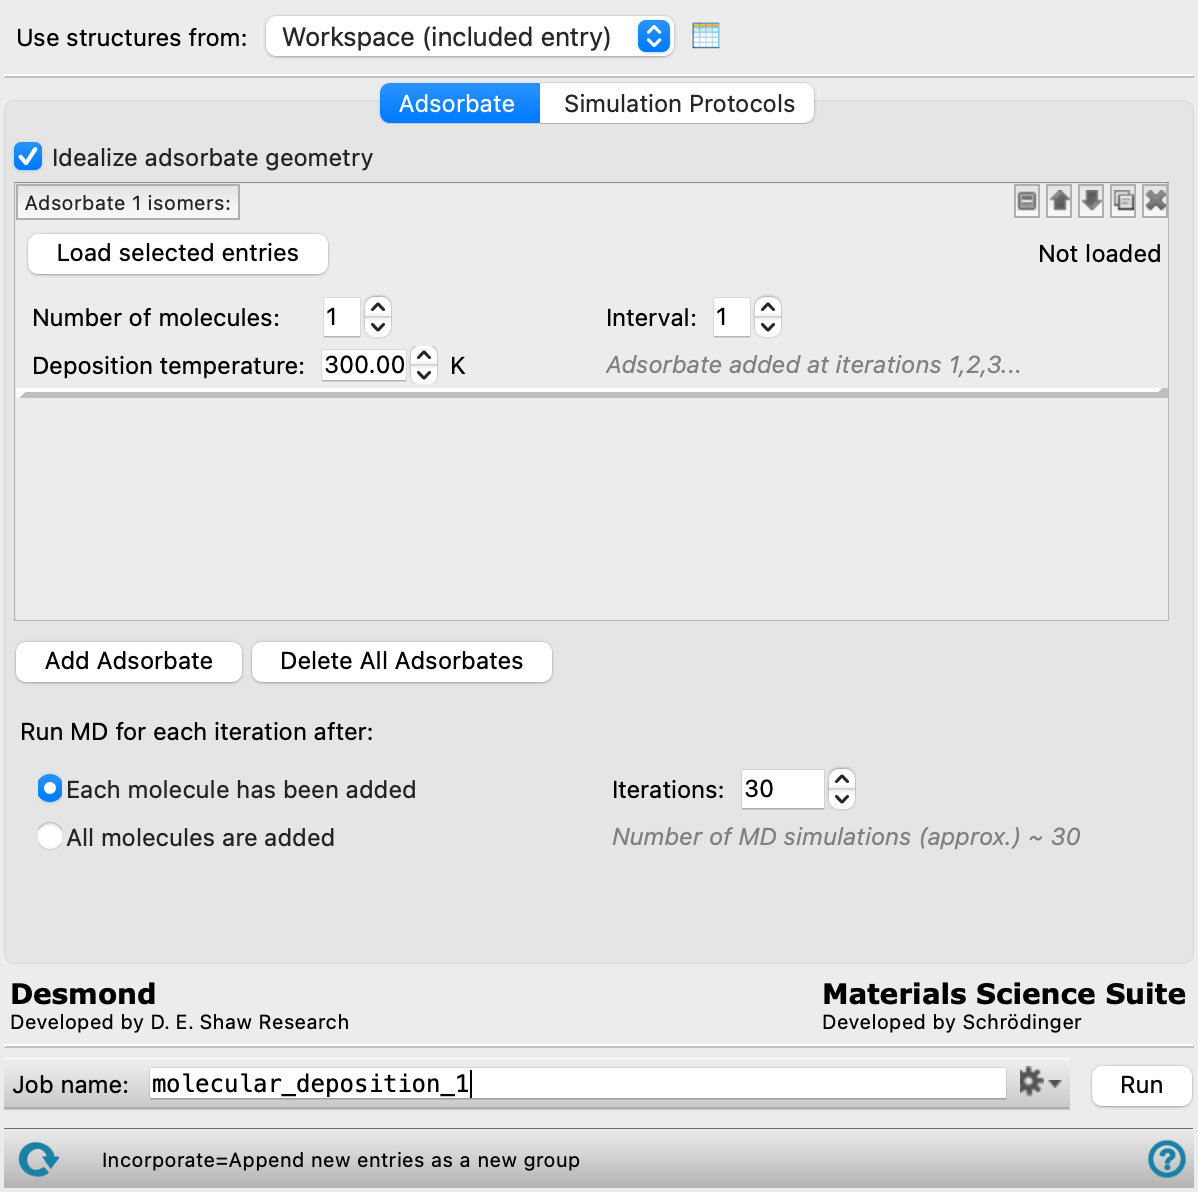
This panel allows you to build up a layer of molecules or other collections of atoms on an all-atom surface. The process consists of a series of iterations in which molecules are added to the surface and short molecular dynamics simulations are performed to equilibrate the system. Each iteration can consist of several steps, depending on how many adsorbates are added and how many of them are added per iteration. The initial substrate can be set up using the Build Slabs and Interfaces Panel and then prepared for this panel using the Prepare for MD Panel. The input structure must be a Desmond model system (.cms) prepared with OPLS2005, OPLS4, OPLS5, or MLFF. When building the initial system, the substrate surface should be large enough and should include a large enough vacuum layer to accommodate all the molecules you want to add. The molecules to be deposited (adsorbates) should be in the Project Table, each adsorbate in its own entry. The deposition parameters can be adjusted for each adsorbate separately. How often each adsorbate is deposited is controlled by the interval specified in the Interval text box. How many adsorbates are added per iteration is controlled by the Number of molecules text box. Each MD simulation can consist of up to two stages, an equilibration step and an optional post-processing MD step. You can adjust the simulation parameters, such as time step, simulation ensemble, and simulation length, separately.
Use the Run MD for each iteration after options to control when the simulation should be run. If All molecules are added is selected, a single MD simulation runs at the end of each iteration after all molecules (if any) have been added to the system. If Each molecule has been added is selected, one MD simulation is run each time a molecule is added to the system, and one MD simulation is run for iterations where no molecule is added to the system. In the latter case, the total number of simulations is equal to the total number of molecules deposited plus the number of iterations where no molecule is deposited.
To write out the input file and a script for running the job from the command line, click the arrow next to the Settings button  and choose Write.
Molecular Deposition Panel Features
- Use structures from option menu
- Open Project Table button
- Adsorbate tab
- Simulation Protocols tab
- Substrate positional restraints section
- Simulation protocols section
- Apply barrier potential option
- Ensemble class option menu
- Simulation time text box
- Time step text box
- Temperature text box
- Set random number seed option and text box
- Trajectory recording interval text box
- Save intermediate data option and menu
- Post-deposition protocols option
- Compute interaction energies option
- Job toolbar
- Status bar
- Use structures from option menu
-
Choose the structure source for the surface.
- Workspace (included entry)—Use the entry that is currently included in the Workspace. Only one entry must be included in the Workspace.
- Workspace (included entry)—Use the entry that is currently included in the Workspace. Only one entry must be included in the Workspace.
- Open Project Table button
-
Open the Project Table panel, so you can

- Adsorbates tab
-
Select adsorbates to be deposited on the surface and the frequency at which to run MD simulations.
- Idealize adsorbate geometry option
-
For adsorbates that contain metal atoms, this option restrains bonds and angles around metal atoms in organometallic complexes to ideal values. This option is primarily useful (and recommended) for octahedral and square planar complexes that are used as adsorbates.
The adsorbate is minimized with restraints to ideal values before it is placed in the cell. The ideal values used in the initial adsorbate minimization are obtained from a lookup table, with a fallback to empirical formulas. Once placed in the cell, the bonds and angles are restrained to these ideal values in the MD simulations.
If this option is not selected, all metal bonds and angles are restrained to their initial geometry. As the process of deposition is iterative, the initial geometry is the geometry from the previous step, not the geometry at the beginning of the process.
Only available when the system has not been prepared with a machine learning force field model.
- Adsorbate selection tools
-
These tools allow you to define adsorbates and specify how they should be deposited on the surface. You can add up to 5 different adsorbates. At a given iteration, the adsorbates specified to be added are deposited in the order they appear on the list.
- Adsorbate label
-
The label indicates the adsorbate number and is updated if the stage is moved.
- adsorbate management buttons
-
These buttons perform display and ordering operations on the adsorbate. They allow for easy duplication and rearrangement of adsorbates.


Show or hide the contents of the adsorbate. When hidden, only the adsorbate number, label (if any) and these buttons are displayed. This is useful when you have a number of adsorbates and want to compare two separate adsorbates, for example. 

Move the adsorbate up or down one place in the list. 
Duplicate the adsorbate. This is useful for creating similar adsorbates with variations on the settings. 
Delete the adsorbate. - Load Selected entries button
-
Select entries in the Project Table and click Load Selected entries to include the selected structure as an adsorbate to be deposited onto the surface. The entry name of the selected structure is diplayed to the right of the button.
- Number of molecules text box
-
Enter a number specifying how many molecules of this adsorbate are deposited in each iteration. Each molecule is added stepwise.
- Interval text box and Adsorbate added at iterations text
-
Enter a number for the interval at which this adsorbate is deposited. By default, the interval is 1 and the adsorbate is deposited at every iteration. The iterations at which this adsorbate is deposited is displayed in the text below.
- Deposition temperature text box
-
Enter the temperature in kelvin at which this adsorbate is deposited. The initial velocities of the adsorbate towards the surface are taken from a Maxwell-Boltzmann distribution at the specified temperature.
- Add Adsorbate button
-
Click this button to add another adsorbate tool set at the end of the list. Each adsorbate should be a separate entry in the Project Table.
- Delete All Adsorbates button
-
Remove all adsorbates that have been added to the panel.
- Run MD for each iteration after options
-
Specify when to run MD simulations for each iteration:
- Each molecule has been added—one MD simulation is run each time a molecule is added to the system, and one MD simulation is run for iterations where no molecule is added to the system.
- All molecules are added—a single MD simulation runs at the end of each iteration after all molecules (if any) have been added to the system. The overall number of MD simulations is equal to the number of iterations.
- Iterations text box
-
Specify the number of deposition iterations to perform. Each iteration can consist of multiple steps, depending on the number of adsorbates and how many adsorbate molecules are added per iteration (Number of molecules text box).
- Number of MD simulations text
-
Display the overall approximate number of MD simulations. This is determined from the Run MD for each iteration after selection and the number of iterations. If All molecules are added is selected, a single MD simulation runs at the end of each iteration after all molecules (if any) have been added to the system. If Each molecule has been added is selected, one MD simulation is run each time a molecule is added to the system, and one MD simulation is run for iterations where no molecule is added to the system. In the latter case, the total number of simulations is equal to the total number of molecules deposited plus the number of iterations where no molecule is deposited.
- Simulation Protocols tab
-
Specify options for the MD simulations.
- Substrate positional restraints section
-
In this section you can set restraints on selected atoms in the substrate, with a specified force constant. This section contains a standard set of picking tools that you can use to select atoms.
- Simulation protocols section
-
- Apply barrier potential option
-
Select this option to automatically apply a repulsive potential to the edge of the cell. This effectively renders the system non-periodic, and can be used to ensure molecules are only deposited on one side of the substrate.
- Ensemble class option menu
-
Choose the ensemble class from this option menu. The following classes are available:
- NVE—constant particle number (N), volume (V) and energy (E). This class represents the microcanonical ensemble.
- NVT—constant particle number (N), volume (V) and temperature (T). This class represents the canonical ensemble.
- NPT—constant particle number (N), pressure (P) and temperature (T). This class is an isothermal-isobaric ensemble, the common experimental conditions.
-
- Simulation time text box
-
Specify the desired simulation time in ps.
- Time step text box
-
Specify the time step for the simulation in fs.
- Temperature text box
-
Specify the temperature to be used, in kelvin.
- Set random number seed option and text box
-
Select this option to specify a random seed to be used in the simulations. Specifying the seed allows you to reproduce the results, unless other factors affect them. If this option is not selected, a seed is chosen at random.
- Trajectory recording interval text box
-
Set the recording interval for saving points on the trajectory, in ps. This is the amount of time between frames in the trajectory. The entered value is rounded to an integer multiple of the far time step size. The resultant number of records to be written is reported to the right.
- Save intermediate data option and menu
-
Select this option to save data from the Desmond MD simulations.
- CMS files—save the CMS files from each of the Desmond simulations. These are the files that contain the structure and force field information.
- CMS and trajectory—save the CMS files and the trajectories from each of the Desmond simulations. Note that trajectory files can be large and may take up a lot of disk space.
- Post-deposition protocols
-
- Ensemble class option menu
-
Choose the ensemble class from this option menu. The following classes are available:
- NVE—constant particle number (N), volume (V) and energy (E). This class represents the microcanonical ensemble.
- NVT—constant particle number (N), volume (V) and temperature (T). This class represents the canonical ensemble.
- NPT—constant particle number (N), pressure (P) and temperature (T). This class is an isothermal-isobaric ensemble, the common experimental conditions.
-
- Simulation time text box
-
Specify the desired simulation time in ps.
- Temperature text box
-
Specify the temperature to be used, in kelvin.
Use this option if you want to add an MD simulation stage after the main equilibration.
- Compute interaction energies option
-
Use this option to compute the interaction energies between the input substrate and all adsorbate molecules for each MD simulation. The results are written to a CSV file.
Only available when the system has not been prepared with a machine learning force field model.
- Job toolbar
-
Manage job submission and settings. See Job Toolbar for a description of this toolbar.
The Job Settings button opens the Molecular Deposition - Job Settings Dialog Box, where you can make settings for running the job.
- Status bar
-
 to reset the panel to its default settings and clear any data from the panel.
If you can submit a job from the panel, the status bar displays information about the current job settings and status for the panel. The settings include the job name, task name and task settings (if any), number of subjobs (if any) and the host name and job incorporation setting. The job status can include messages about job start, job completion and incorporation.
The status bar also contains the Help button
 , which opens an option menu with choices to open the help topic for the panel (Documentation), launch Maestro Assistant, or if available, choose from an option menu of Tutorials. If the panel is used by one or more tutorials, hover over the Tutorials option to display a list of tutorials. Choosing a tutorial opens the tutorial topic.