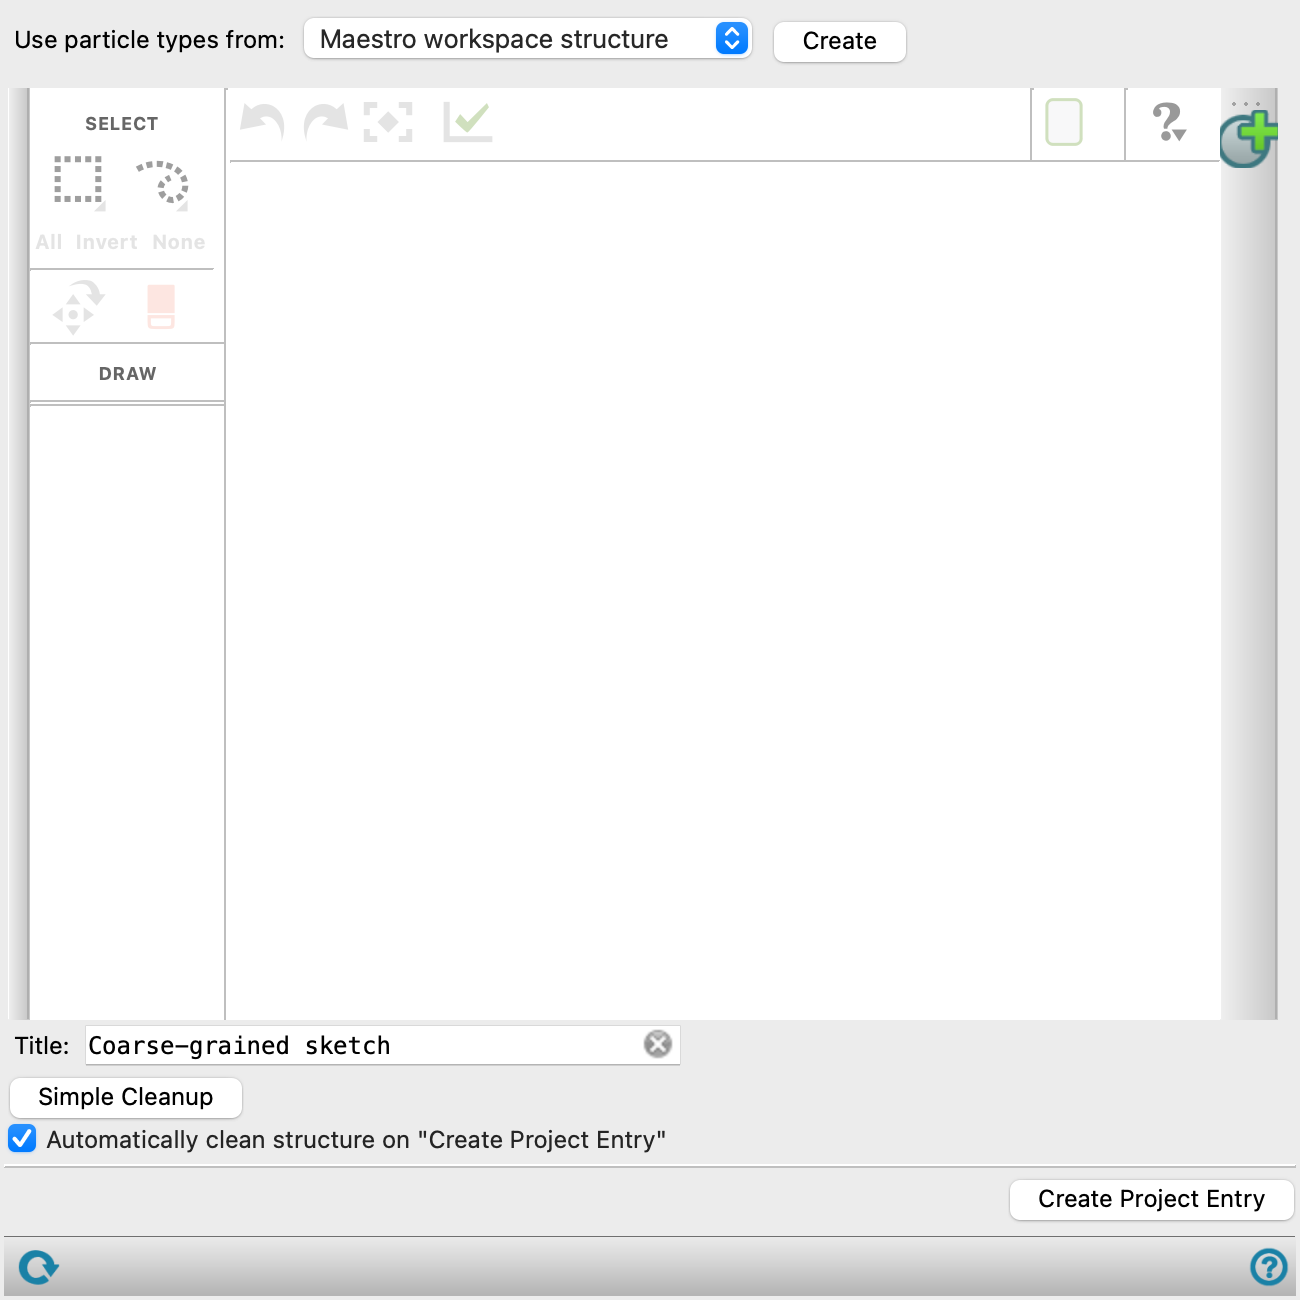
Coarse-Grained Sketcher Panel
Sketch a 2D coarse-grained structure using spherical particles that you define, and save it as a project entry. The model in the project entry is a 2D model with the distances and angles as they are in the Sketcher.
To open this panel, click the Tasks button and browse to Materials → Classical Mechanics → Coarse Grain Models → Coarse-Grained Sketcher.
The following licenses are required to use this panel: MS Maestro, MS CG
- Using
- Features
- Additional Resources
Using the Coarse-Grained Sketcher Panel
This panel provides tools for drawing a coarse-grained structure in 2D and saving it as a project entry. The structure is strictly 2D: no conversion to 3D is done when the structure is saved, and the placement of particles with their interparticle distances is preserved (in other words, it is a wysiwyg sketch). You can create or import particle types for use in sketching. If you import and use particle types from a force field (such as Martini), assignment of the force field parameters in the Coarse-Grained Force Field Assignment Panel is done automatically when you import the force field.
Sketching a structure involves use of the following procedures:
To import particles from a force field for sketching:
- Select Force field file from the Use particle types from option menu.
- Click Create to open the Create Particle Types from a Force Field File Dialog Box.
- Select the location of the force field file and the force field.
- Select the particle types from the list and click Add (or click Add All).
- Click OK to close the dialog box and add the particles to the particles toolbar.
To import particles from one or more structures:
- Select Maestro Workspace structure or Selected entries (Project Table) from the Use particle types from option menu.
- Click Create to add the particles in the structures to the particles toolbar.
To create a particle for sketching:
- Click the + (Add particle) button on the particles toolbar (right side of the panel).
- Set the name, color, radius, and mass in the dialog box that opens.
To place a particle:
- Select the particle you want to place from the particles toolbar.
- Click in the sketch area to place the particle at the desired location.
To place a particle and bond it to another particle:
- Select the particle you want to place from the particles toolbar.
- Click on the particle you want to bond it to.
- Drag out the bond in the desired direction and release at the desired location to place the particle.
To move a particle:
- Click the Move toolbar button.

- Select the particle you want to move.
- Drag it to the new location.
To draw a bond between two particles:
- Select the first particle.
- Drag to the second particle to draw the bond.
Note: If you were using any of the editing tools, you should click on one of the particle buttons first before drawing the bond.
Coarse-Grained Sketcher Panel Features
Use particle types from option menu and Create button
Load the coarse-grained particles toolbar with particle types from the specified source. Click Create to create and load the particle types onto the toolbar. The new particle types replace the existing loaded particle types on the toolbar (but particle types added manually are kept). The options are:
- Maestro Workspace structure—Load the particle types found in the Workspace structures.
- Selected entries (Project Table)—Load the particle types found in the selected entries in the Project Table.
- Force field file—Load the particle types found in the force field files stored in your templates directory or in the installation. The Create button opens the Create Particle Types from a Force Field File Dialog Box so you can choose the particle types from any of the available force field files. The Martini force field has particle types that were created from a range of molecules (see Site Types for Martini for some information on these). Loading particle types from force fields enables you to automatically assign parameters from those force fields.
Menu bar
The items on the menus described here cover all instances of the panel. Some of the items are unavailable in each particular instance.
- File menu
-
- Save Screenshot (Ctrl+Alt+P, ⌥⌘P)
-
Save an image of the structure in a file. The image can be saved in PNG, JPG, or BMP format.
- Close (Ctrl+W, ⌘W)
-
Close the window.
- Edit menu
-
- Preferences
-
Set display preferences. Opens a Preferences panel, in which you can make settings. In the General tab you can make settings for the drawing of the structure and the background; in the Selection tab you can make settings for the selection of atoms in the structure, and in the Ligand Interaction Diagram tab, you can make settings for the representation of objects in the Ligand Interaction Diagram.
- Undo (Ctrl+Z, ⌘Z)
-
Undo the last action. Can be performed multiple times. Same as the toolbar button.
- Redo
-
Redo the last action that was undone. Can be performed multiple times. Same as the toolbar button.
- Copy (Ctrl+C, ⌘C)
-
Copy the selected atoms (or the entire structure, if there is no selection) to the clipboard as a SMILES string.
- Paste (Ctrl+V, ⌘V)
-
Paste the SMILES string from the clipboard onto the drawing area as a 2D structure. The structure is placed in the center of the drawing area.
- Select All (Ctrl+A, ⌘A)
-
Select all atoms in the structure. The atoms are outlined in yellow.
- Deselect (Ctrl+D, ⌘D)
-
Clear the atom selection.
- Cleanup
-
Clean up the structure (2D coordinates) and normalize orientation and arrangement of groups. If you have atoms selected, only those atoms are cleaned up. Same as the toolbar button.
- View menu
-
- Flip Vertical (Ctrl+Alt+F, ⌥⌘F)
-
Flip the structure from top to bottom.
- Flip Horizontal (Ctrl+Alt+H, ⌥⌘H)
-
Flip the structure from left to right.
- Fit to Screen (Ctrl+F, ⌘F)
-
Zoom in or out so that the structure fills the visible part of the drawing area.
- Blackboard View (Ctrl+I, ⌘I)
-
Display the structure in white on a black background, like drawing on a blackboard.
- Selection Display Mode (Ctrl+Alt+S, ⌥⌘S)
-
Cycle between four ways of displaying selections:
- wide selection contour
- narrow selection contour
- wide bond highlight
- narrow bond highlight
- Stereochemistry Labels (Ctrl+L, ⌘L)
-
Label chiral atoms with R or S.
- Color Heteroatoms (Ctrl+T, ⌘T)
-
Color atoms other than carbon (N is blue, O is red, S is yellow, and so on). If this option is deselected, all atoms are colored black if the background is white, or white if the background is black.
- Scene Title (Ctrl+T, ⌘T)
-
Display the title above the structure.
Editing toolbar
| Settings | |

|
Settings
Toggles: Heteroatom Colors, Stereocenter Labels |
| Help | |

|
Help
Help, About 2D Sketcher |
Sketch area
This area is where you sketch the structure.
-
To place a particle, click its button on the particle toolbar, then click in the sketch area where you want to place the particle.
-
To place a particle that is bonded to another particle, click the particle button on the toolbar, click on the particle you want to bond it to, then drag and drop to place the new particle.
-
To draw a bond between particles, drag the bond out from one particle to the other particle.
The size of the particle spheres in the sketch are proportional to their radii.
Coarse-grained particles toolbar
This toolbar contains the coarse-grained particles that you can use to sketch a coarse-grained structure.
Initially, the toolbar has a single button with a + sign, the Add particle button. Clicking this button opens a dialog box in which you can set the particle name, radius, mass, and a color to be used in the sketch. You can click Use Martini Defaults to assign default values for the radius and mass from the Martini force field. When these properties are set, a new button is added to the toolbar for the particle, showing a sphere with the chosen color.
You can edit a particle's properties by right-clicking on the button and choosing Edit Particle. The same dialog box opens as for adding a particle. The properties of any particles in the sketch that were placed with this button are updated.
You can delete a particle button from the toolbar by right-clicking on its button and choosing Delete. This action only deletes the button: any particles created with this button remain in the sketch.
These buttons remain on the toolbar if you close and reopen the panel, but are not preserved between Maestro sessions.
Title text box
Provide a title for the structure. This title is used as the entry title when you create a project entry.
Simple Cleanup button
Clean up the structure by setting bond lengths to the sum of particle radii, and scaling rings using the average bond length.
Automatically clean structure on Create Project Entry option
Clean up the structure with the simple cleanup when a project entry is created
Create Project Entry button
Create a project entry from the current sketch. The entry is created exactly as it appears in the Sketcher - a 2D model with distances and angles as they are in the sketch. There is no conversion to 3D, as there is no force field and no geometric rules for the particles that can be used to create a 3D model.
Status bar
 to reset the panel to its default settings and clear any data from the panel.
If you can submit a job from the panel, the status bar displays information about the current job settings and status for the panel. The settings include the job name, task name and task settings (if any), number of subjobs (if any) and the host name and job incorporation setting. The job status can include messages about job start, job completion and incorporation.
The status bar also contains the Help button  , which opens an option menu with choices to open the help topic for the panel (Documentation), launch Maestro Assistant, or if available, choose from an option menu of Tutorials. If the panel is used by one or more tutorials, hover over the Tutorials option to display a list of tutorials. Choosing a tutorial opens the tutorial topic.