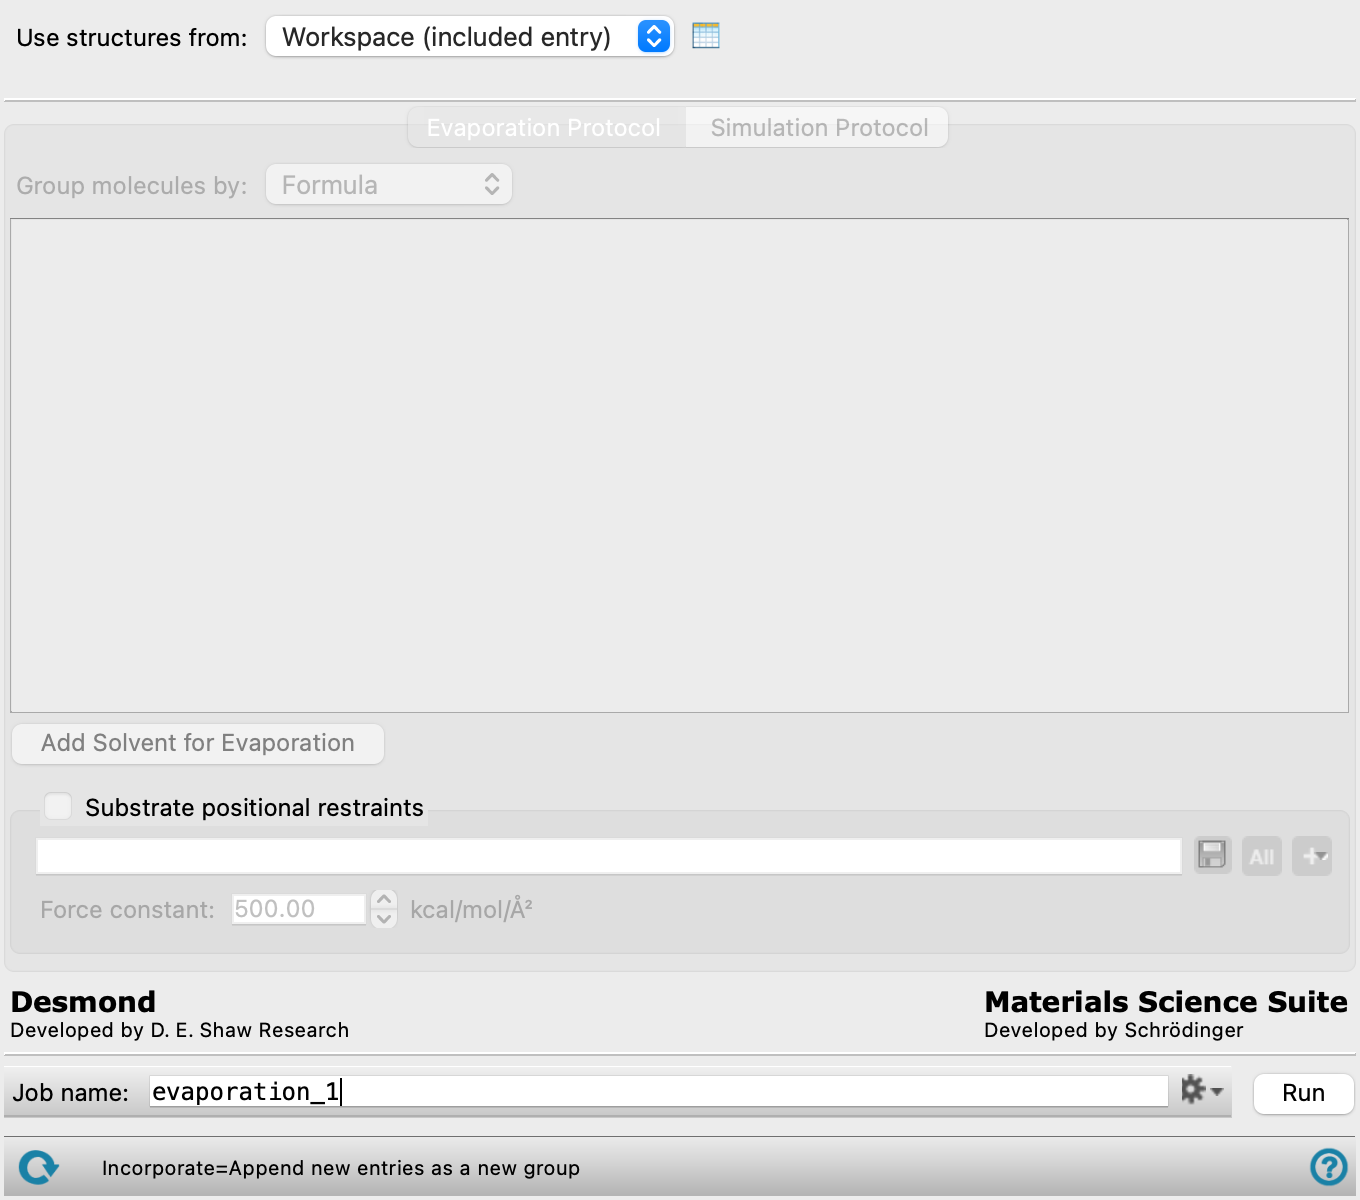
Evaporation Panel
Perform MD simulations to remove solvents from condensed all-atom and coarse-grained systems.
To open this panel: click the Tasks button and browse to Materials → Classical Mechanics → Evaporation → Evaporation Calculations
The following licenses are required to use this panel: MS Maestro, Desmond, OPLS (optional), MS Force Field Applications (optional), MS CG (optional)
- Using
- Features
- Additional Resources
Using the Evaporation Panel
This panel allows you to simulate the evaporation of solvents from periodic condensed all-atom and coarse-grained systems. The input structure must be a Desmond model system (.cms), prepared with OPLS2005, OPLS4, OPLS5, or MLFF. Each iteration of the calculation consists of 1. The removal of solvents specified in the Evaporation Protocol tab and 2. An MD equilibration step using parameters specified in the Simulation Protocol tab. For each solvent selected for evaporation, you can choose a target evaporation percentage, as well as control the rate of evaporation by limiting the number of molecules to evaporate at each iteration. You can also define evaporation zones to limit evaporation to certain areas in the system. The calculation proceeds until a target evaporation is reached, or if no more eligible solvents can be evaporated. The input structure for the calculation should be well-equilibrated.
The calculation returns a single CMS file (*-out.cms.gz) and a .maegz structure file for each iteration. To visualize the results, you can use the Evaporation Viewer Panel (Click the Tasks button and browse to Materials → Classical Mechanics → Evaporation → Evaporation Results). To open this panel from the entry group for the results of a job .
.
To write out the input file and a script for running the job from the command line, click the arrow next to the Settings button  and choose Write.
Evaporation Panel Features
- Use structures from option menu
- Open Project Table button
- File name text box and Browse button
- Evaporation Protocol tab
- Simulation Protocol tab
- Maximum consecutive unproductive evaporation iterations text box
- Ensemble class option menu
- Simulation time text box
- Time step text box
- Temperature text box
- Pressure text box
- Trajectory recording interval text box
- Barrier potential found in N direction text
- Advanced MD Options button
- Remove subdirectories option
- Attempt to converge density to text box
- Maximum equilibration iterations text box
- Compute options
- Coarse-grained force field option menu
- Job toolbar
- Status bar
- Use structures from option menu
-
Choose the structure source for the current task.
- Workspace (included entries)—Use the entries that are currently included in the Workspace, treated as separate structures.
- File—Use the specified file. When this option is selected, the File name text box and Browse button are displayed.
- Open Project Table button
-
Open the Project Table panel, so you can

- File name text box and Browse button
-
Enter the file name in this text box, or click Browse and navigate to the file. The name of the file you selected is displayed in the text box.
- Evaporation Protocol tab
-
Select solvents for evaporation.
- Group molecules by option menu
-
Choose to list molecules by Formula, SMILES, or Chiral SMILES.
- Solvent selection tools
-
These tools allow you to define solvents for evaporation and specify how they should be removed from the system.
- Solvent label
-
This text identifies the solvent to be removed from the system, followed by how many molecules of that solvent is in the system. Click on the label to show or hide the selection tools for that solvent.
- solvent selection management buttons
-
These buttons perform display and ordering operations on the solvent selection. They allow for easy duplication and rearrangement of solvent selections.


Show or hide the contents of the solvent selection. When hidden, only the solvent selection number, label (if any) and these buttons are displayed. This is useful when you have a number of solvent selections and want to compare two separate solvent selections, for example. 
Duplicate the solvent selection. This is useful for creating similar solvent selections with variations on the settings. 
Delete the solvent selection. - Solvent for evaporation option menu
-
Choose a solvent to evaporate from this menu. The number of molecules of that solvent in the system is listed after #:. The selection from this menu is used as the Solvent label.
- Target evaporation text box
-
The percentage of solvent molecules that you want to evaporate, out of the total number of molecules displayed in the Solvent label.
- Target number of evaporations per iteration text box
-
The maximum number of molecules removed per iteration.
- Evaporation zone option and section
-
Select this option to define where in the system the solvent removal can occur. Only solvents that fall within the defined evaporation zone are removed. As such, the final percentage of evaporated solvents may be less than the value in the Target evaporation text box. You can only define an evaporation zone if there are two or more different types of molecules in the system. If this option is not selected, solvent removal can occur from anywhere in the system.
- Substrate option menu
-
Select the reference substrate to define the evaporation zone around.
- Evaporate solvents option menus and text box
-
Define boundaries for evaporation in relation to a selected substrate. Note that if highest atom in the +z direction is selected, imposing Substrate positional restraints on the selected substrate to prevent drifting is strongly recommended. The shape of the evaporation zone depends on which option is selected:
- closest atom selected—Boundaries for evaporation are set as spheres around the substrate chosen from the option menu with a radius in angstroms specified in the text box. If beyond is selected, only solvents that fall outside the sphere can be evaporated. If within is selected, only solvents that fall inside the sphere can be evaporated.
- center of mass selected—Boundary for evaporation is a sphere with a radius specified in the text box (in angstroms) centered at the center of mass of the substrate. If beyond is selected, only solvents that fall outside the sphere can be evaporated. If within is selected, only solvents that fall inside the sphere can be evaporated.
- center of mass in the +/-z direction selected—Boundary for evaporation is a plane in the z-direction at the specified distance (in angstroms) from the center of mass of the substrate. If beyond is selected, only solvents above the plane can be evaporated. If within is selected, only solvents below the plane can be evaporated.
- highest atom in the +z direction selected—Boundary for evaporation is a plane in the z-direction at the specified distance (in angstroms) above the highest substrate atom. If beyond is selected, only solvents above the plane can be evaporated. If within is selected, only solvents below the plane can be evaporated. Substrate will be moved to the bottom text is present when this option is selected.
- Add Solvent for Evaporation button
-
Click this button to add another solvent selection tool set at the end of the list. If multiple solvents are specified, they are simultaneously removed at each evaporation iteration.
- Substrate positional restraints
-
In this section you can set restraints on selected atoms in the substrate, with a specified force constant. This section contains a standard set of picking tools that you can use to select atoms.
- Simulation Protocol tab
-
Specify parameters for the MD simulation. Please note that the input system should already be well-equilibrated.
- Maximum consecutive unproductive evaporation iterations text box
-
How many consecutive iterations to perform where no additional molecules are evaporated before stopping the calculation.
- Ensemble class option menu
-
Choose the ensemble class from this option menu. The following classes are available:
- NVT—constant particle number (N), volume (V) and temperature (T). This class represents the canonical ensemble.
- NPT—constant particle number (N), pressure (P) and temperature (T). This class is an isothermal-isobaric ensemble, the common experimental conditions.
-
- Simulation time text box
-
Specify the desired simulation time in ps.
- Time step text box
-
Specify the time step for the simulation in fs.
- Temperature text box
-
Specify the temperature to be used, in kelvin.
- Pressure text box
-
Specify the pressure to be used, in bar. Not available for the NVT ensemble class.
- Trajectory recording interval text box
-
Set the recording interval for saving points on the trajectory, in ps. This is the amount of time between frames in the trajectory. The entered value is rounded to an integer multiple of the far time step size. The resultant number of records to be written is reported to the right.
- Barrier potential found in N direction text
-
Displays that a barrier potential has been detected and the axis along which it is applied. Any repulsive barriers that have been defined for the system are taken into account during the simulation. This effectively renders the system non-periodic. Barriers can be defined from the Set Barrier Potential for MD Panel.
Only present when the input structure is created with the Set Barrier Potential for MD Panel.
- Advanced MD Options button
-
Opens the Advanced MD Options Dialog Box, in which you can control many more of the detailed settings for the simulation than are available in the Evaporation panel.
- Remove subdirectories option
-
Remove the subdirectories for the equilibration stages. These directories contain all of the trajectory data, so you will not be able to view the trajectories for these stages if you select this option. The amount of data stored in these subdirectories can be large, and removing them on completion of the job will speed up copying back the results. Selecting this option does not affect the use of the Evaporation Viewer Panel.
- Attempt to converge density to text box
-
Attempt to converge the density to the specified maximum percentage change. The check is performed after each of the two steps in each equilibration iteration.
- Maximum equilibration iterations text box
-
Specify the number of iterations used to equilibrate the system. The equilibration stops if the change in density is less than the density convergence threshold, or the number of equilibration iterations is exceeded.
- Compute options
-
Compute data for analysis and display.
-
Analysis data—include the analysis stage of the evaporation job, which computes a variety of data for analysis of the evaporation process. The analysis can be viewed in the Evaporation Viewer Panel. Not available for input structures prepared with MLFF.
-
Free volume—calculate the free volume at each iteration of the evaporation process, with default parameters (probe radius 1.4, grid spacing 0.5). The data is added to the intermediate Maestro files that are written after each step (to
jobname_n_summary.maegz, where n is the step number). These files are returned and can be loaded into the Free Volume Analysis Viewer Panel. The final structure contains the free volume analysis run at the end of the evaporation process, and can also be loaded into the Free Volume Analysis Viewer Panel. The free volume is available for plotting on the Time Series tab of the Evaporation Viewer Panel.
-
- Coarse-grained force field option menu
-
Choose the coarse-grained force field for the simulation. The choices depend on the Location option selected. The installation contains the Martini and Martini_solution force fields. The menu is populated with the coarse-grained force fields you have saved if you choose Local for the Location. Only available for a coarse-grained system.
-
- Description button
-
Display a description of the chosen force field in a separate panel.
- Location options
-
Select an option for the location of the coarse-grained force field. The force fields listed on the Force field option menu depend on this choice.
- Installation—use the force fields in the installation. These are the Martini, Martini_solvation, or Martini_full force fields [15].
- Local—import a force field from your local user resources directory. These are force fields that you have saved for your own use.
- Job toolbar
-
Manage job submission and settings. See Job Toolbar for a description of this toolbar.
The Job Settings button opens the Evaporation - Job Settings Dialog Box, where you can make settings for running the job.
- Status bar
-
 to reset the panel to its default settings and clear any data from the panel.
If you can submit a job from the panel, the status bar displays information about the current job settings and status for the panel. The settings include the job name, task name and task settings (if any), number of subjobs (if any) and the host name and job incorporation setting. The job status can include messages about job start, job completion and incorporation.
The status bar also contains the Help button
 , which opens an option menu with choices to open the help topic for the panel (Documentation), launch Maestro Assistant, or if available, choose from an option menu of Tutorials. If the panel is used by one or more tutorials, hover over the Tutorials option to display a list of tutorials. Choosing a tutorial opens the tutorial topic.